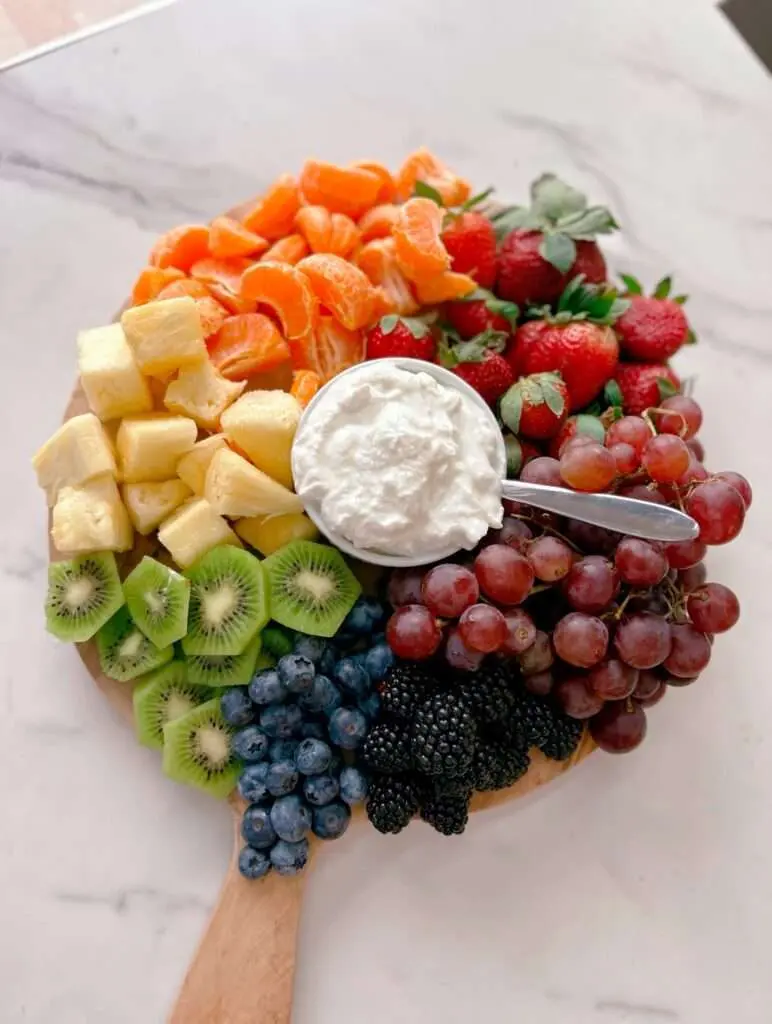
Everyone loves a good party, and what’s a party without some fantastic finger foods? Enter the simple fruit charcuterie board: a delightful, colorful, and healthy alternative to the traditional meat and cheese platter. In this article, we’ll take you on a journey to create your fruit charcuterie masterpiece, using a conversational tone and sharing real-life examples to make your mouth water. Are you ready? Let’s get started!

The Allure of Simple Fruit Charcuterie
The idea of a fruit charcuterie board might be new to some, but it’s quickly gaining popularity for a good reason. These platters are not only visually stunning, but they also cater to a wide range of dietary preferences and restrictions. Plus, the freshness of the fruits provides a much-needed break from the heaviness of traditional party fare.
Imagine attending a summer garden party, the sun shining, laughter filling the air, and a gorgeous, vibrant platter of fruits, nuts, and other delectable treats sitting center stage.

Step 1: Choose Your Board
The foundation of any charcuterie is the board itself. While wood is the traditional choice, feel free to get creative. Use a marble or slate surface for a chic, modern look or a large, rustic cutting board for a farmhouse-style vibe.
Step 2: Select Your Fruits

Variety is the key to a successful fruit charcuterie. Aim for a mix of colors, textures, and flavors to keep things interesting.
Here’s a list of fruits to get you started:
- Apples
- Pears
- Grapes
- Berries (strawberries, blueberries, raspberries, blackberries)
- Citrus fruits (oranges, grapefruit, tangerines)
- Stone fruits (peaches, nectarines, plums, apricots)
- Tropical fruits (pineapple, mango, papaya, kiwi)
- Melons (watermelon, cantaloupe, honeydew)
- Dried fruits (raisins, apricots, dates, figs)
Remember to consider what’s in season, as seasonal fruits will be at their peak of freshness and flavor.
Step 3: Slice and Dice
Presentation is everything, so take your time when cutting your fruits. Remove any seeds or pits, and slice them into easy-to-grab pieces. For a visually appealing display, try the following:
- Slicing apples and pears into thin wedges
- Cutting citrus fruits into wheels or half-moons
- Halving or quartering strawberries
- Skewering grapes or berries onto toothpicks
- Cutting melons into cubes or scooping them into balls
Step 4: Add Some Extras
While fruit is the show’s star, adding complementary items can elevate your simple fruit charcuterie to new heights. Consider including:
- Nuts (almonds, cashews, walnuts, pistachios)
- Cheese (brie, gouda, goat cheese, cheddar)
- Crackers or crusty bread
- Chocolate (dark, milk, or white)
- Honey or fruit preserves
- Fresh herbs (mint, basil, or rosemary)
Step 5: Arrange Your Masterpiece
Now comes the fun part: arranging your fruit charcuterie! Start by placing more oversized items, like cheese wedges or bowls of nuts, on the board first. Then, create small clusters of fruits around these anchor points. Aim for a mix of colors and shapes in each cluster, and don’t be afraid to let items overlap or spill over the edge of the board—it adds to the great, inviting look. Fill in gaps with smaller items like crackers, chocolate, or fresh herbs.
Remember these suggestions when preparing your simple fruit charcuterie:
- Use a mix of heights and levels to create visual interest. Small bowls, ramekins, or even upside-down muffin tin liners can elevate items.
- Remember the power of negative space. Leaving small gaps between items can make your board look more intentional and less cluttered.
- Play with texture. Consider placing smooth-skinned fruits next to fuzzy or bumpy ones or mixing crunchy nuts with juicy berries.
Final Verdicts
Following these steps, you’ll have created a visually stunning and deliciously satisfying simple fruit charcuterie that will impress your guests. Combining fresh, vibrant fruits with complementary extras makes for a versatile and crowd-pleasing addition to any gathering.
Moreover, a fruit charcuterie is an adaptable concept tailored to suit any occasion or theme. Are you throwing a tropical-themed party? Include exotic fruits like passionfruit, guava, and dragon fruit. Are you hosting a cozy winter gathering? Opt for warm spices like cinnamon and nutmeg, and consider adding baked apples or poached pears to your board.
The possibilities are endless, and the beauty of a simple fruit charcuterie lies in its ability to bring people together over a shared love of food and conversation. So, channel your inner artist, and create a fruit charcuterie masterpiece that will have your guests talking long after the party.
Frequently Asked Questions
What are common charcuterie fruits?
Common fruits used in a charcuterie board include apples, pears, grapes, and berries (such as strawberries, blueberries, raspberries, and blackberries). Citrus fruits like oranges and tangerines, stone fruits like peaches and plums, and tropical fruits like pineapple and mango are popular.
What is the five-ingredient charcuterie?
A simple five-ingredient charcuterie board can include the following:
- Fruits: Choose a mix of fresh and dried fruits, such as grapes, strawberries, and dried apricots.
- Cheese: Select a variety of cheeses with different textures and flavors, like brie, cheddar, and goat cheese.
- Nuts: Add some crunch with a handful of almonds, cashews, or walnuts.
- Crackers or bread: Include a selection of crackers or slices of crusty bread for spreading cheese and stacking with fruit.
- Extras: Finish off your board with something sweet or savory, such as dark chocolate or a dollop of fruit preserves.
Feel free to combine and customize ingredients according to your taste and the occasion’s theme.
Food stylist & founder of One Board Gal. Known for creative food tips and simple cheese board inspiration. I am dedicated to helping you bring a lot to the table by sharing tricks, tips, and education for your next gathering.
